Difference between revisions of "First setup"
| Line 8: | Line 8: | ||
[[File:First_setup_2.PNG|center]] | [[File:First_setup_2.PNG|center|link=]] | ||
| Line 15: | Line 15: | ||
[[File:Company-organsiation_1.PNG|center]] | [[File:Company-organsiation_1.PNG|center|link=]] | ||
| Line 23: | Line 23: | ||
[[File:Company-organsiation_2.PNG|center]] | [[File:Company-organsiation_2.PNG|center|link=]] | ||
Revision as of 10:27, 1 July 2022
Completion of installation need to be followed by the activity of first setup. It is the basic configuration of the most important parameters that will help you in using Tactic with a very much personalised experience.
Setting up company/ organisation
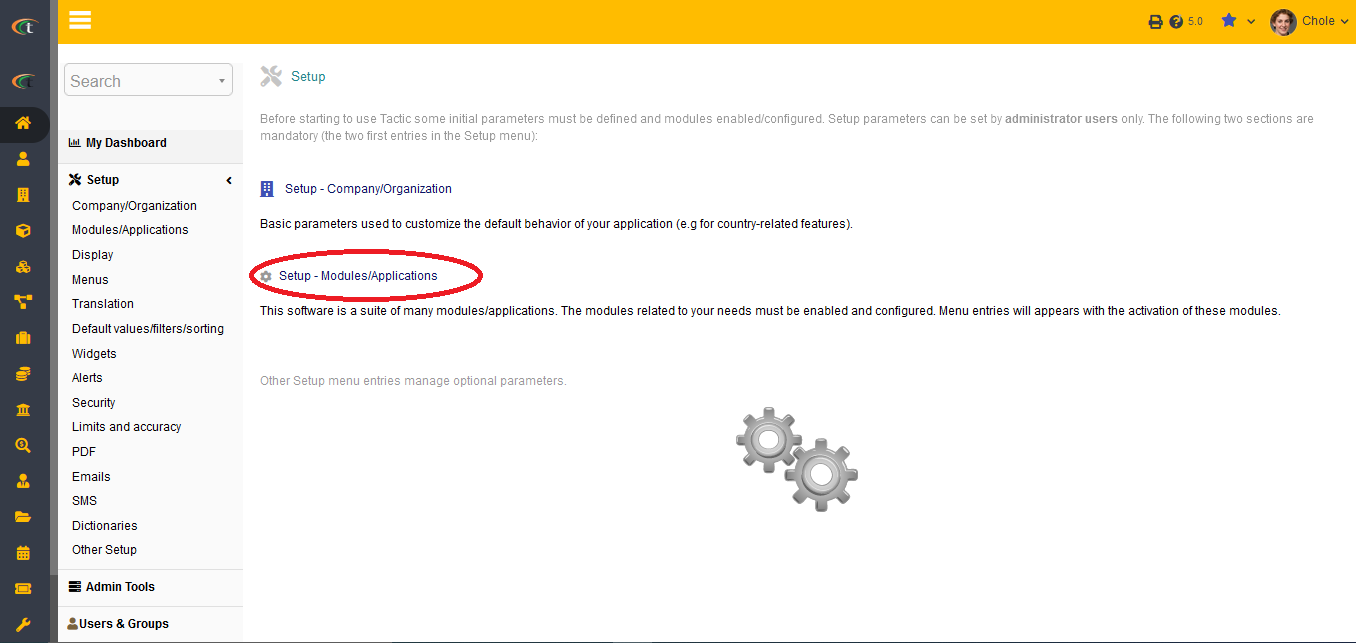
Without setting the company/organisation you cannot start using tactic, hence, before start working with Tactic you need to complete setting up the company/organisation section. For achieving the same follow the mentioned steps.
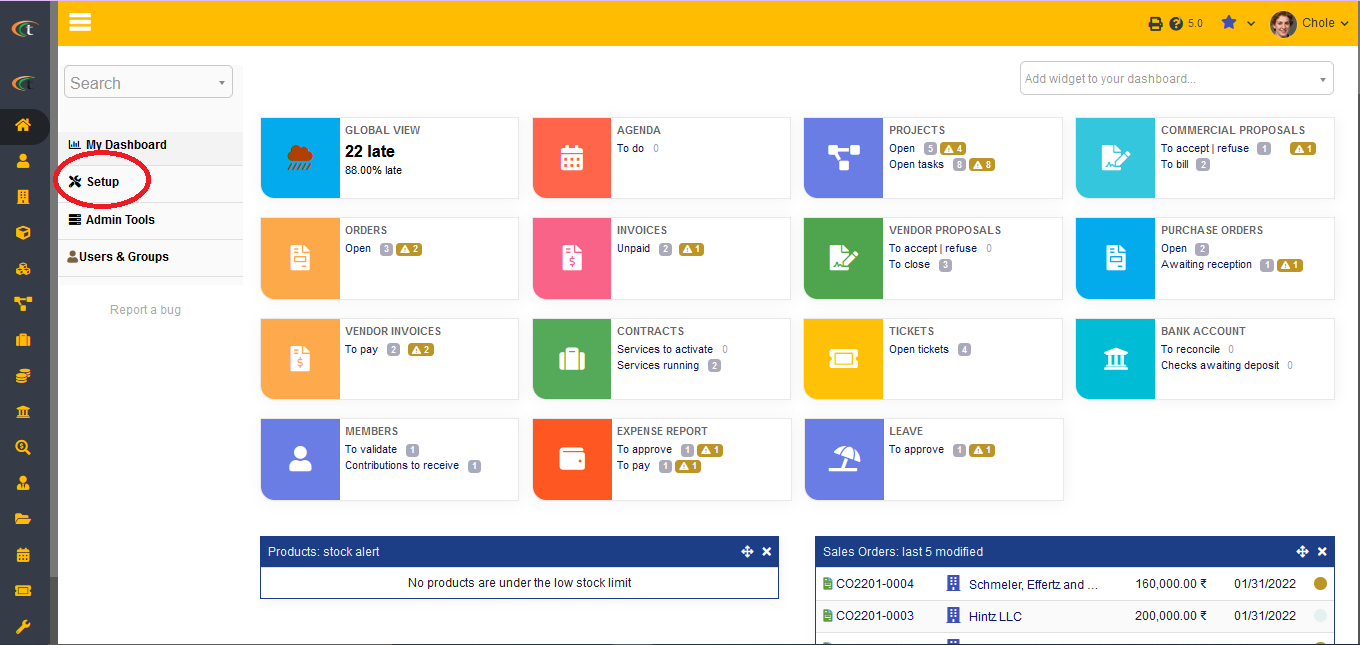
- Choose the menu of "Home->Setup->Company/Organization" and add the information related to your company in the provided spaces.
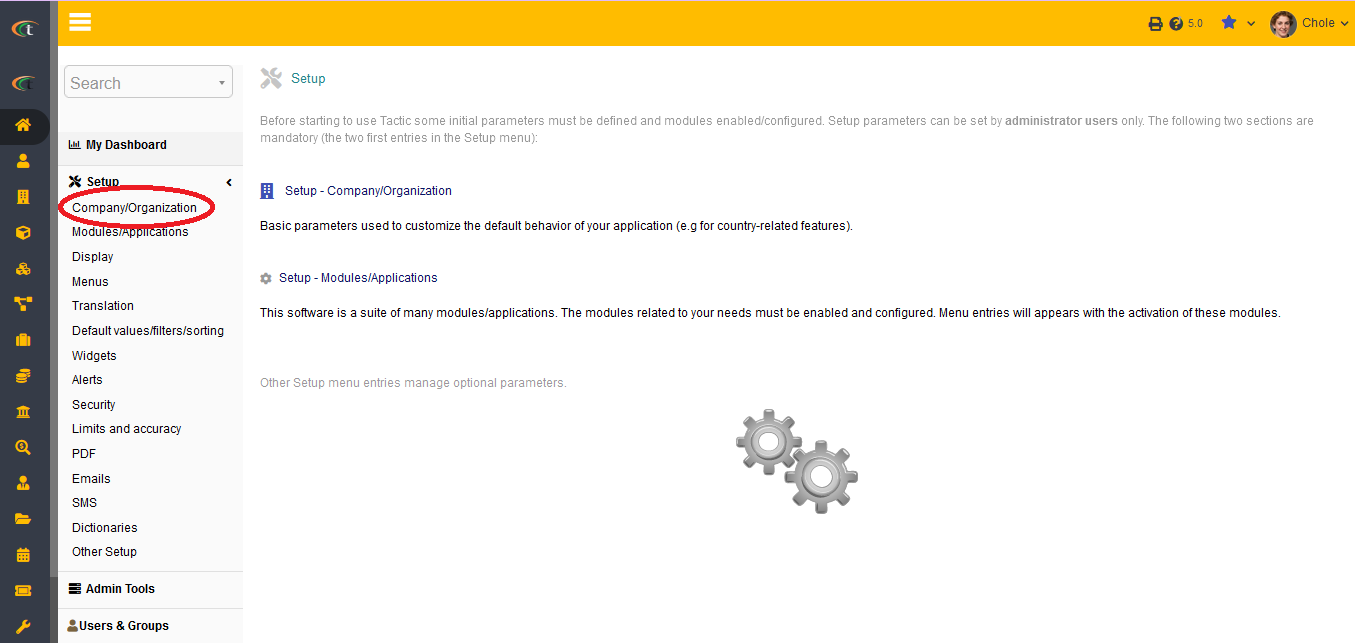
- Name: add the name of your organisation
- Logo: add the logo of your company by browsing the logo file from your local device. In this case please note that, the accepted file formats are .png, .jpg or .gif. You can add logo of any sizes. However, it is recommended to use pictures of .png format and use a picture that comes under the size of 130 pixels height and up to 800 pixels width.
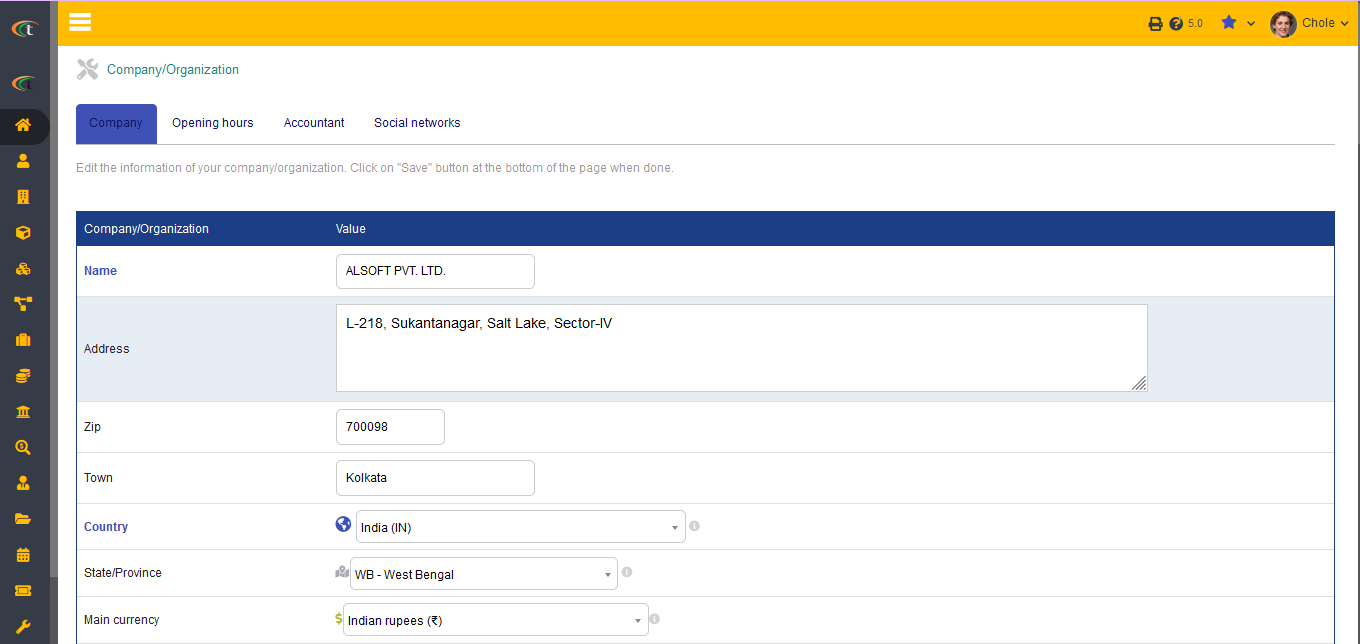
- Logo (squared): this criteria is for adding the squared logo of your company. Please note that only .png and .jpg formats are accepted for this criteria. This logo will be shown at the top right corner of Tactic.
- Fiscal year: add the starting month of the fiscal year in this criterion.
- Prof ID X: These fields are added in Tactic to allow you to add your company’s professional IDs. It is needed to be noted that each country has a different professional ID. Such as Indian companies will have to provide their TIN, PAN, Service Tax and Vat ID. Tactic can manage 6 professional IDs at the same time.
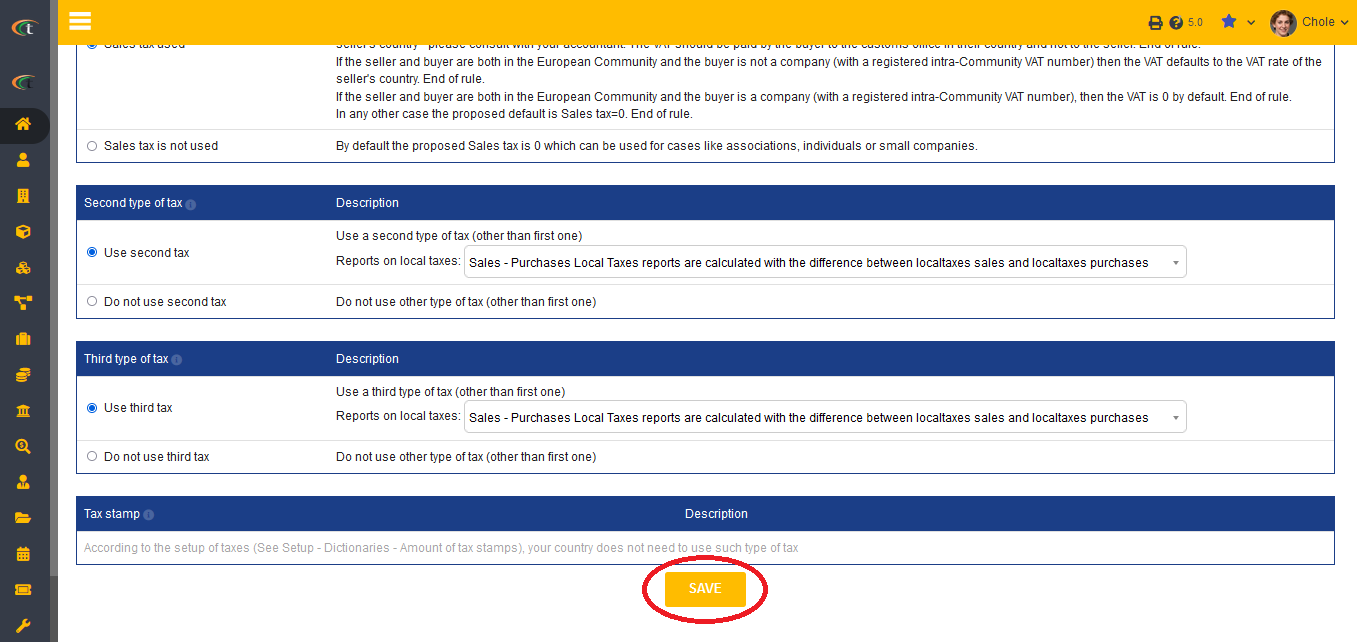
- Sales Tax (VAT) Management: the information related to your company’s sales tax management need to be incorporated.
- Second type of tax: add if there is a second type of tax that you would like to manage through Tactic.
- Third type of tax: add if there is a third type of tax that you would like to manage through Tactic.
Modules
After completing setting up your company/organisation, you need to start setting up the Tactic modules. Setting up the modules is the second in importance and it depends on the tasks and activities that you want to incorporate through Tactic. If you want to use all of the functionalities provided by Tactic then you will have to activate each of the module. However, if you want to use some of the selected modules then just activate the ones as per your needs. For activating the modules you need to follow the below mentioned steps:
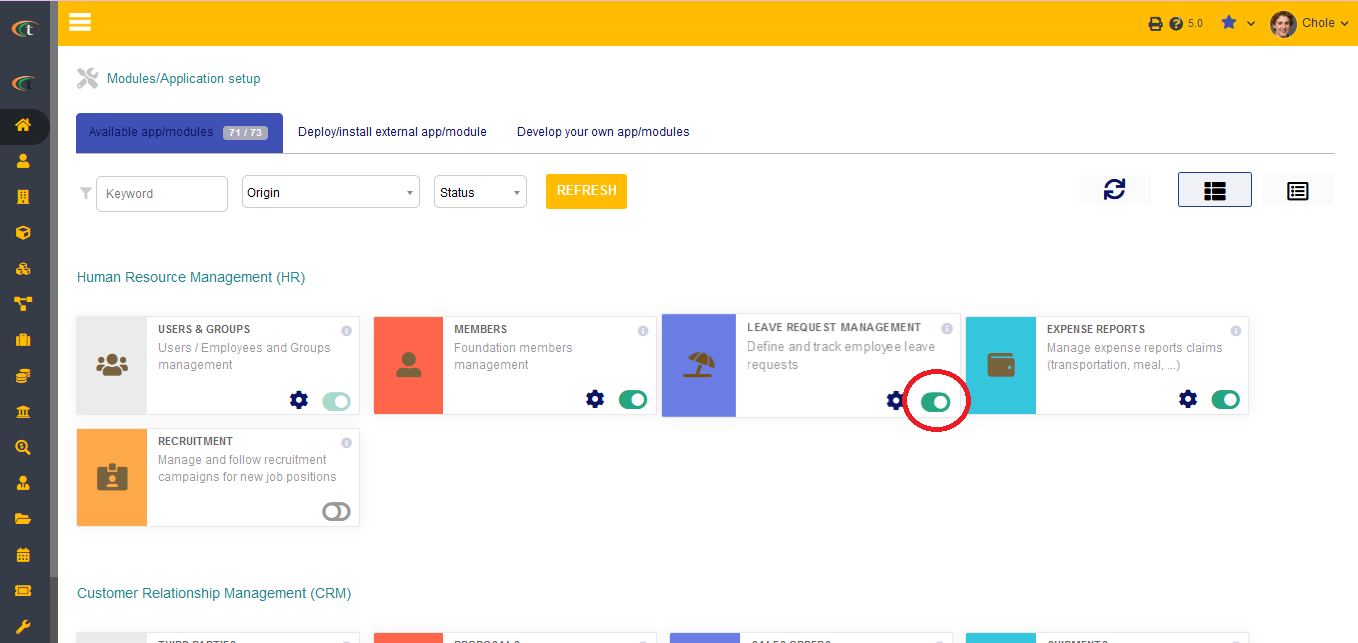
- For starting with the activation process go to the option of "Home->Setup-> Modules"
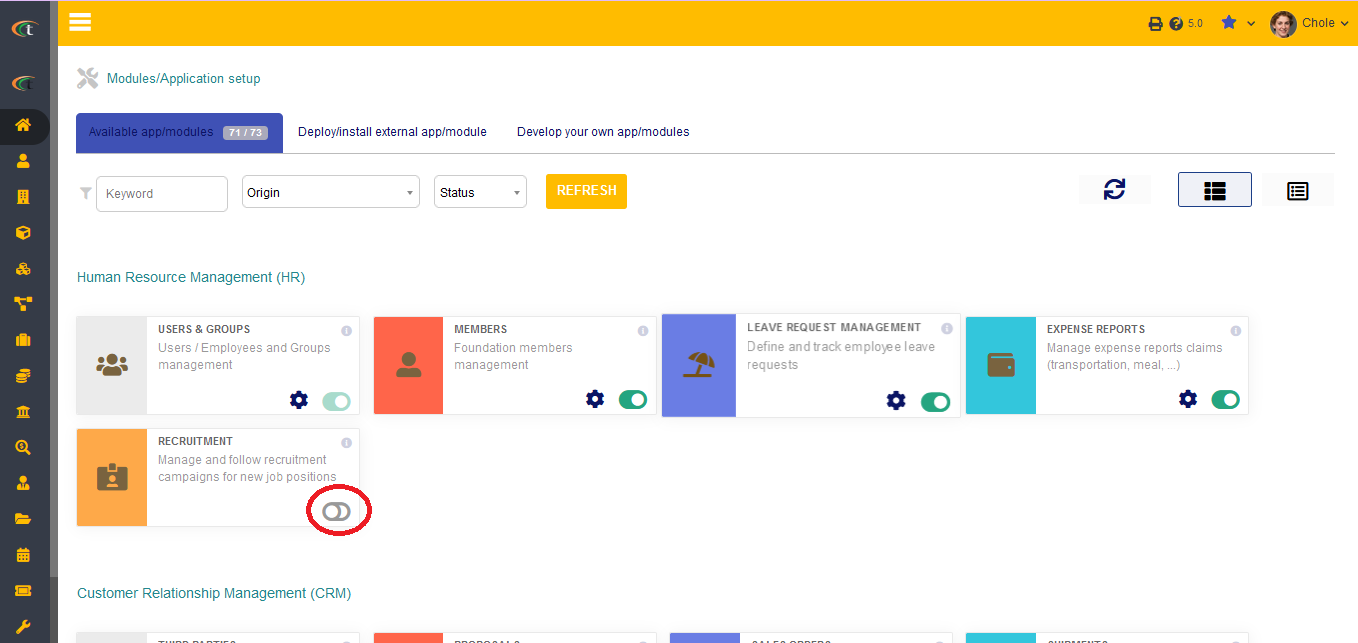
- In the second step, you need to click the button that signifies if the module is on or off. The button will appear in the “status” column.
- When the module is activated the button will be green like this
- When the module is deactivated the button will be white like this
However, you need to keep in consideration that for using a module you need to be granted with permission. With proper permissions you can easily activate or deactivate a module. Moreover, you may need to configure some of the modules to use those properly post activation.
Display
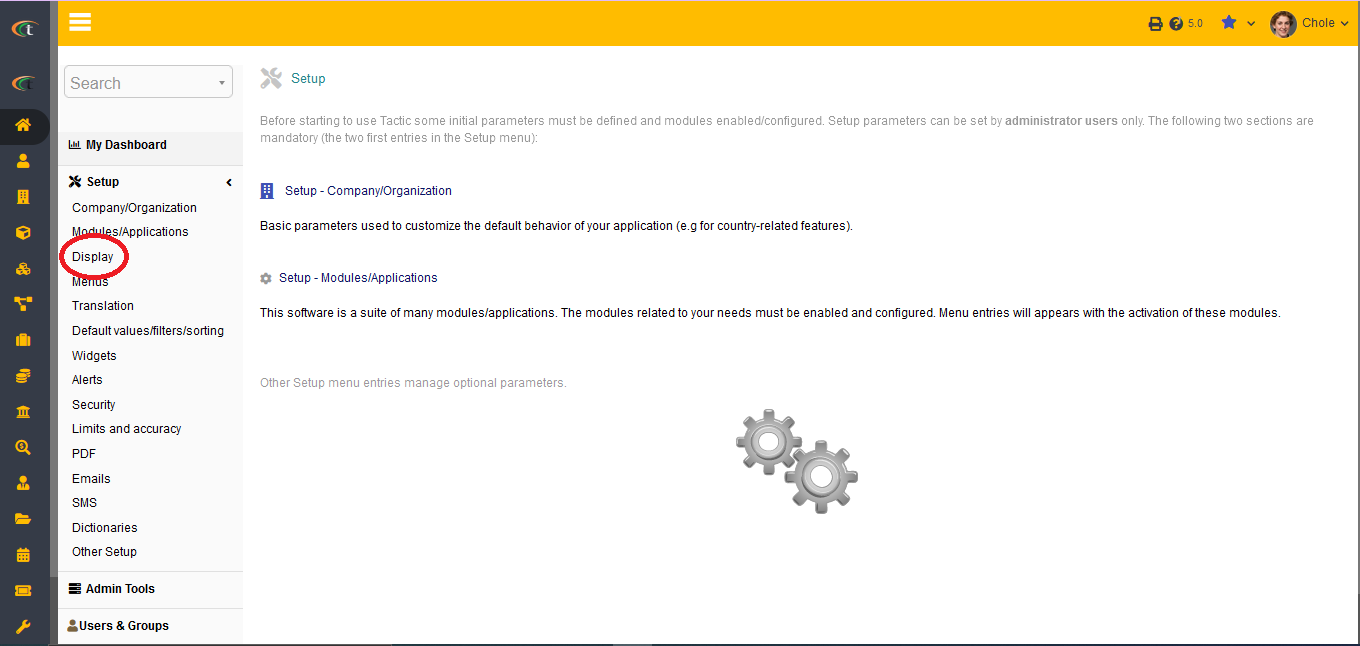
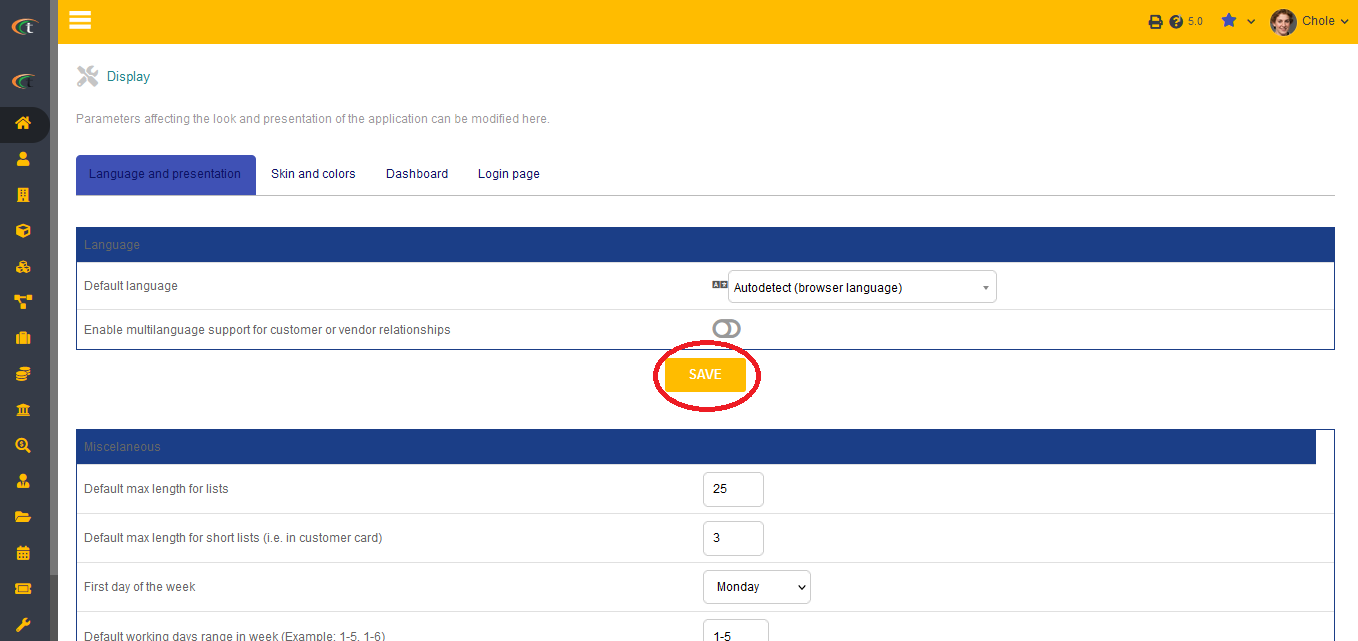
The display page is used for setting up the default language as well as the default look and feel. You can easily change the look and feel as per your preferences. The path of the settings is Home-> setup -> Display. The options that you can find under display are mentioned and discussed below:
Language
The language setting is used for setting up default language, in which Tactic will be running. You will find the option of “auto detect” selected by default, however, you can change it according to your preferences. Moreover, you can activate Multilanguage module as well. This module will allow you to use more than one languages at the same time. You can set the preferred language for your customers and generate the documents associated with them (proposals, invoices, orders etc.) in their own language.
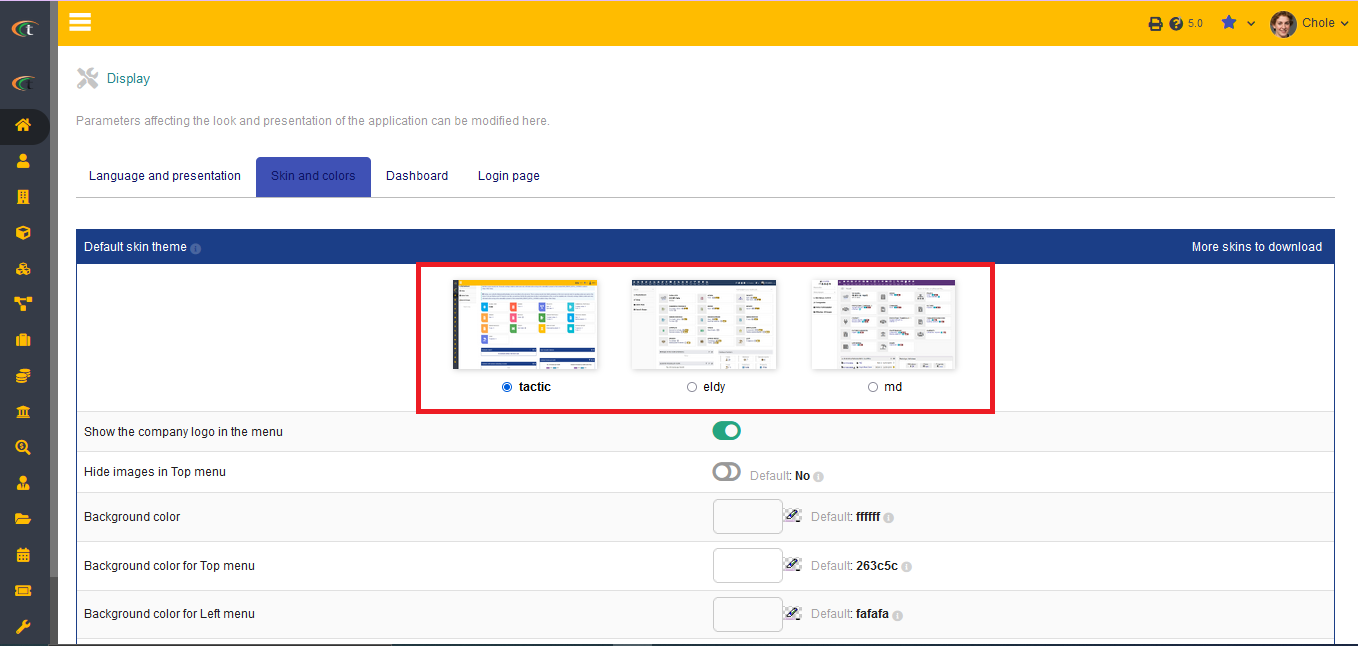
Default screen theme
There are three different themes are available in Tactic, which are Eldy, MD and Tactic. The default theme is set to Tactic, you can change as per your own preferences. However, you are provided with the opportunity of personalising the skin colour and look with the help of this setup.
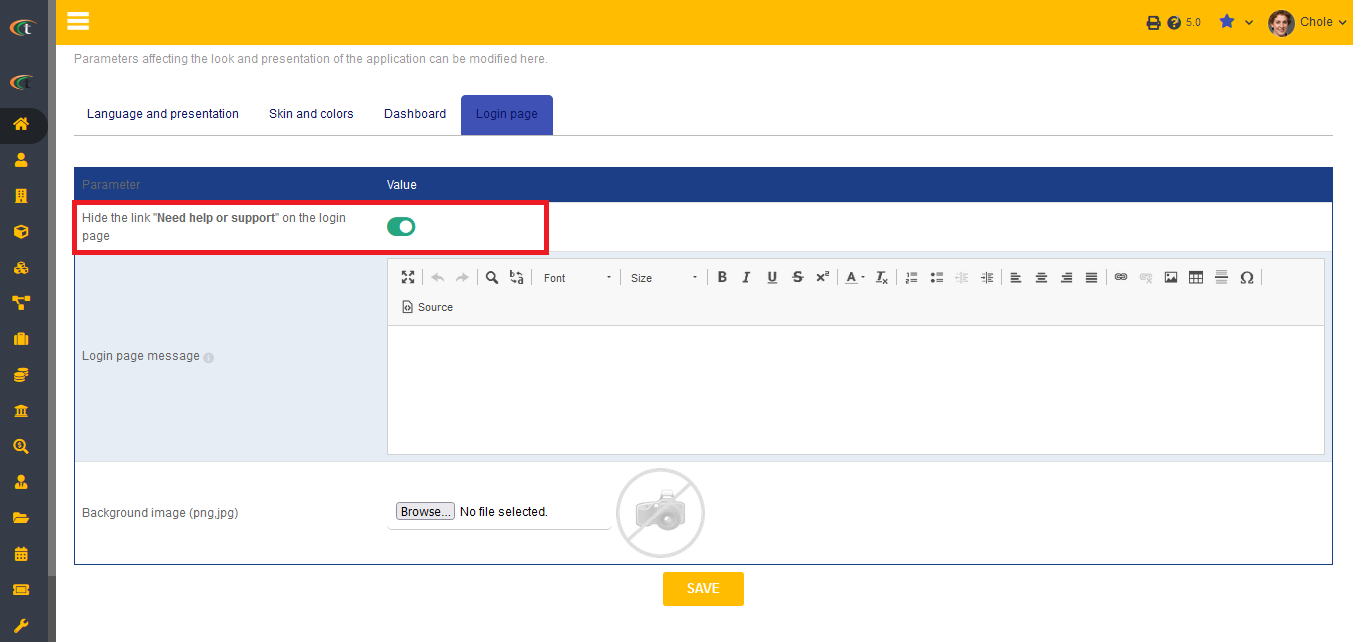
Log-in page
This option provides with you with the opportunity of customising the login page for better personalised experience. You can easily add a message and a background picture and increase the feel of customisation. You can also hide or show “Need help or support”.
Miscellaneous
In the miscellaneous section you can set the default values of the features, such as length of lists, first day of week etc. The section of “message of the day” can easily be modified from this section of the software.
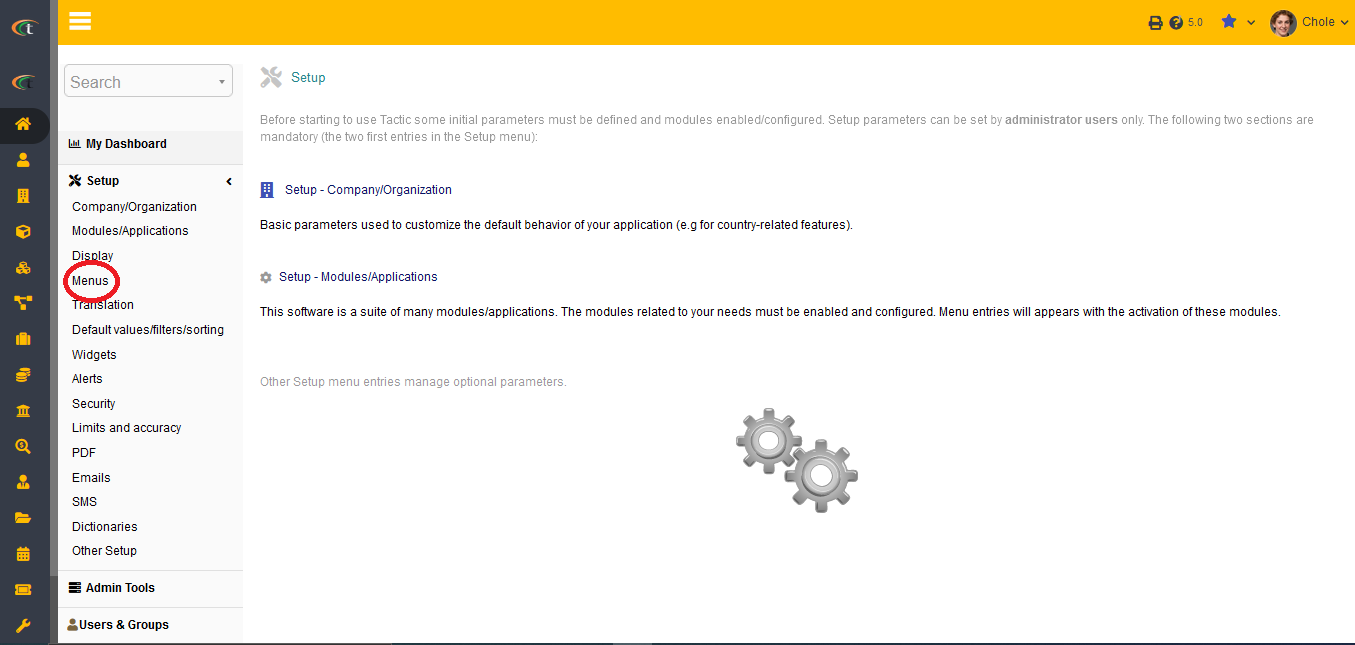
Menu
This option allows you to choose the menu manager that you would prefer to use. The option can be used for setting up different menu managers for internal users, for external users, for desktop or for smart phones. With the help of the menu manager you can change the left and top menus along with the organisations, orders and labels.
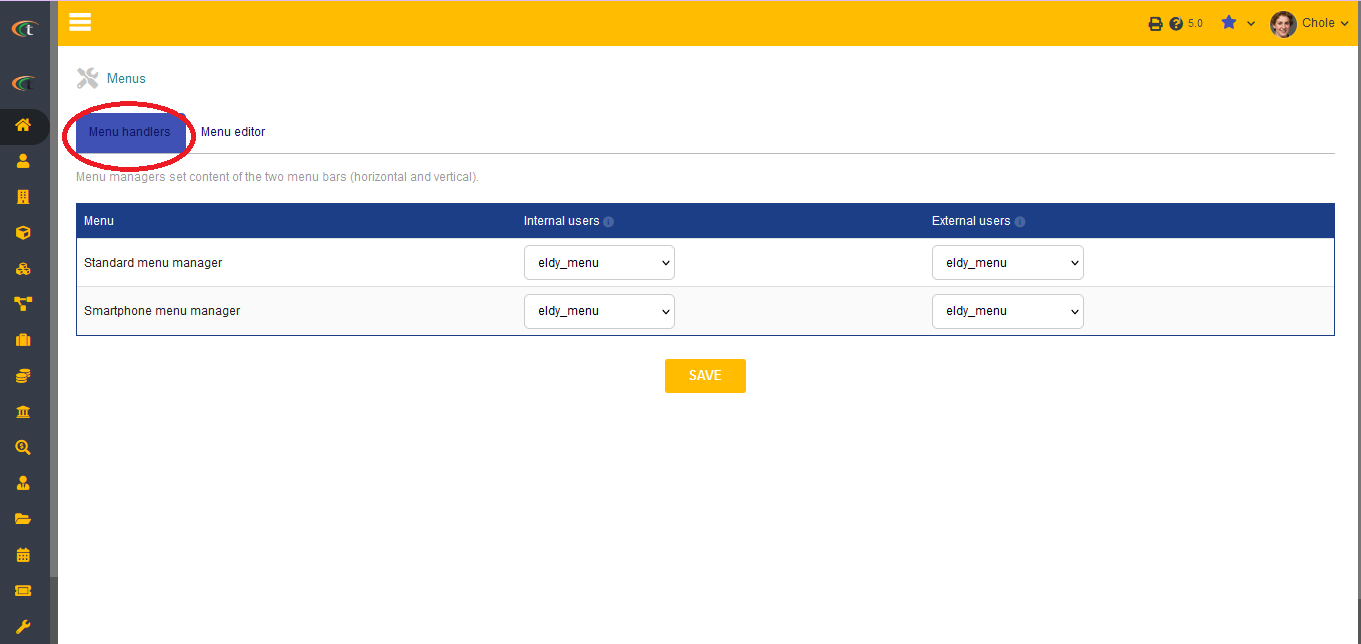
Menu handlers
There are two different menu handlers, which are, Eldy and Auguria. Eldy: This is the default menu and in this menu the entries are centralised. Auguria: This menu is a database menu manager. You can choose your preferred menu in the menu handlers tab.
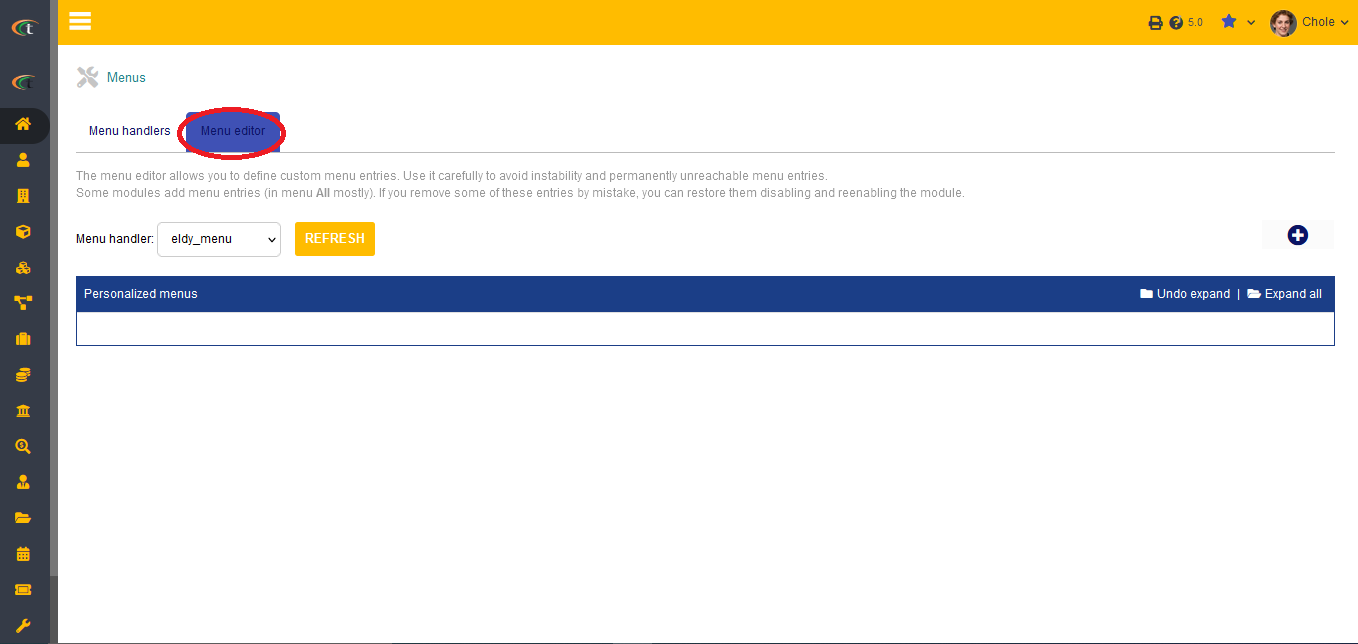
Menu editor
Menu editor provides you with the facility of customising each menu entry or creating new menu entries with the help of both auguria and eldy menu manager.
Miscellaneous
With the help of this option unauthorised menu entries can be hidden. Usually the unauthorised menus are shown in grey.
Users
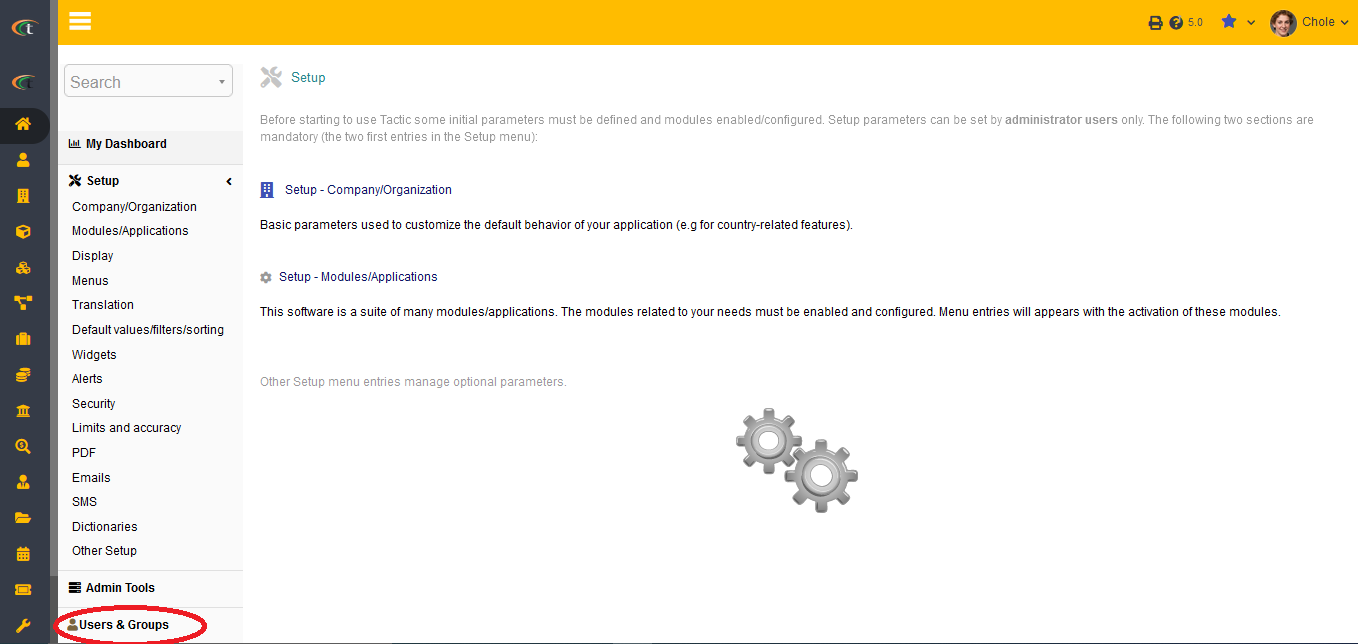
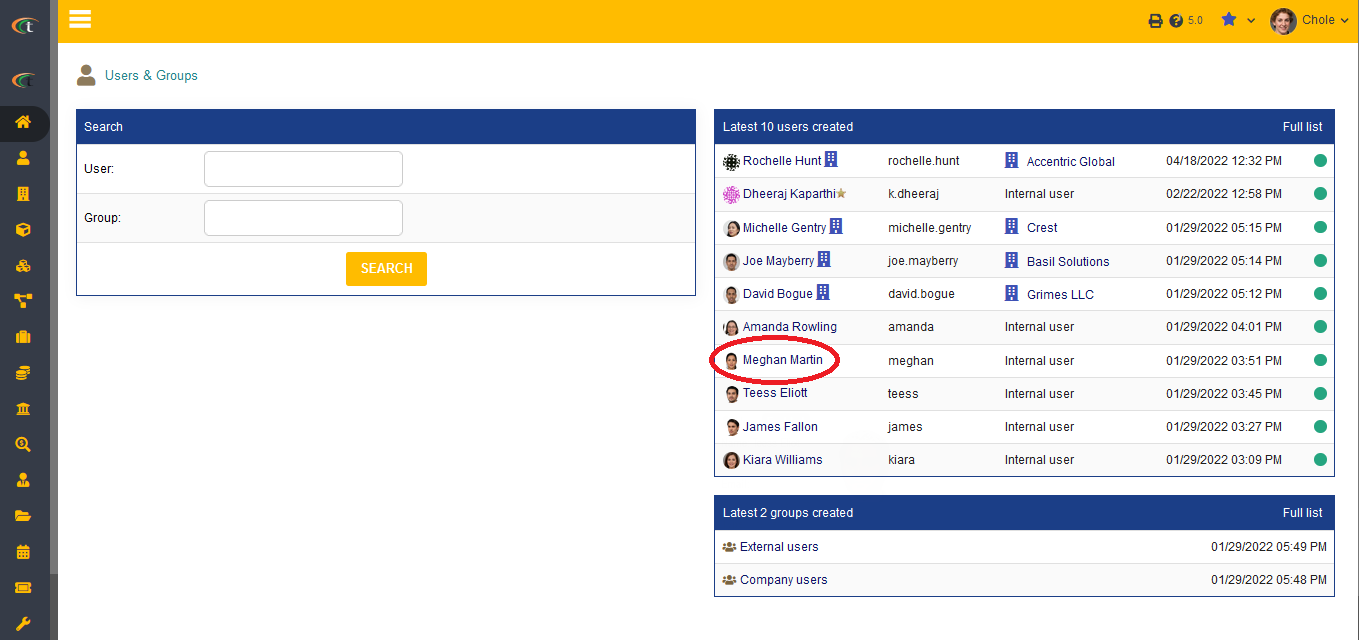
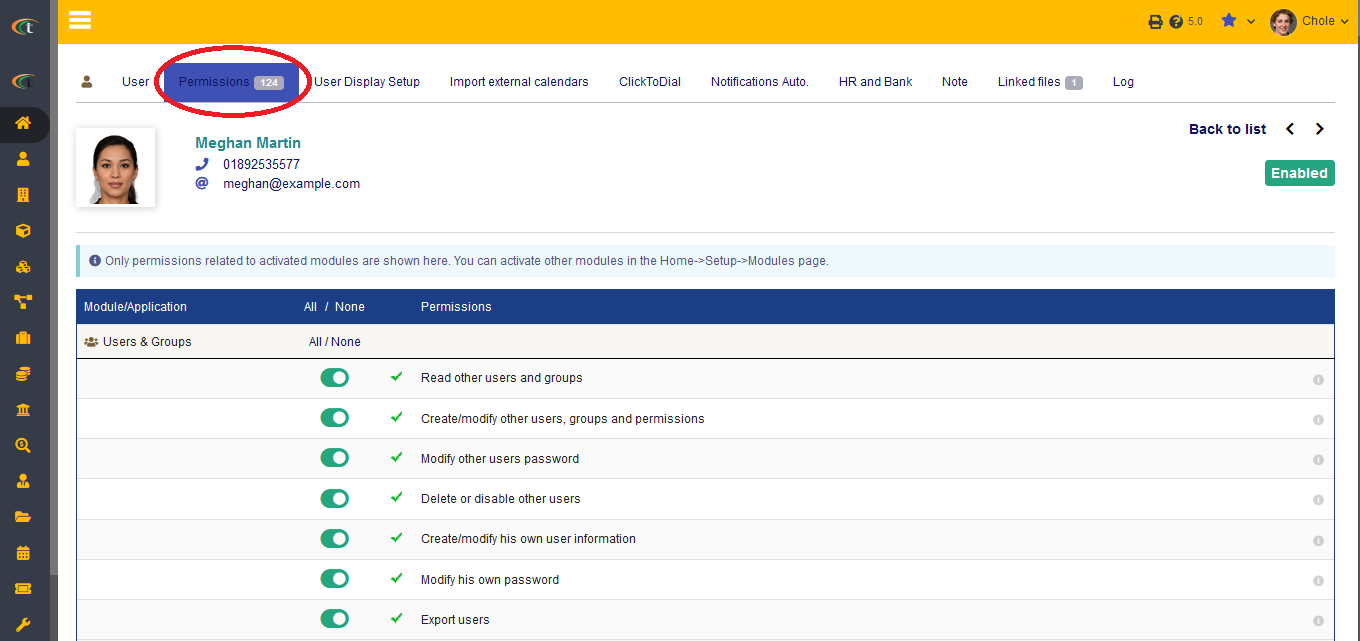
The very last step of the first setup is to create users and providing them with permissions. Granting permissions to the users is one of the most important steps, since without permissions the users will not be able to use Tactic. For assigning permissions to the users, you need to go to the menu of Home -> Users & Groups -> select the user -> permission tab.
It is recommended to recheck the granted permissions after activating a module as the granting of permissions based on the activated modules. Additionally, Tactic team recommends you to grant permissions only after activating the modules. However, if you want to avoid this configuration steps for each newly-created user, you can set-up default rights from security setup.
Other Setup
There are some other set-ups, which might need configuration for the best personalising experience.
